0
£0.00
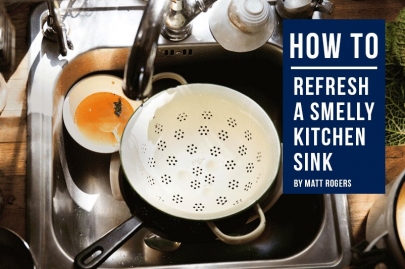
Our kitchen sinks endure a lot throughout their years of service. They serve as a place to do washing up, to clean our hands before and after cooking and a somewhere to pour away leftover liquids. They can be one of the more fertile breeding grounds for bacteria in homes, due to being cleaned less frequently or thoroughly than bathrooms. It's easy to assume that our sinks are essentially self-cleaning, thanks to frequently being filled with warm water and washing up liquid but this alone won't keep your kitchen sink free of germs.
In reality, the fact your kitchen sink is often filled with warm water makes it a perfect environment for bacteria to multiply. Couple this with their exposure to food waste such as eggs, juice from raw meat and all manner of other materials and you have an ideal recipe for a filthy sink.
Modern materials and manufacturing mean that new sinks are usually very smooth and durable, greatly reducing the number of places where dirt can become lodged. However, sticky food waste can still find ways of attaching itself to the sides and bottom of your sink. Though it can be tempting to simply fill your sink with a cleaning solution and wait for it to dissolve your dirt, you're probably better off simply scrubbing the sink to remove that has become attached to the surface.
Fortunately, cleaning your sink is a very straightforward process that shouldn't require the use of any abrasive cleaning products, which can ruin the beautiful finish of your kitchen ceramics. One of the easiest steps for reducing the build up of germs is to simply empty the sink when it's not in use. It can be tempting to leave baking trays and dishes to soak overnight after enjoying a delicious meal but you're ultimately just providing a lot of time and a perfect environment for dirt and germs to build up on your sink's surface.
You can perform a thorough clean on your kitchen sink using safe and affordable household products. Some baking soda and washing up liquid along with a regular kitchen sponge with a brillo pad should be sufficient for the vast majority of kitchen stains. It's always a good idea to wear rubber gloves as prolonged exposure to washing up liquid can lead to dry skin and you'll protect any cuts on your skin from coming into contact with dirty water. For reaching difficult spots, it's worth keeping an old toothbrush or an old head for an electric toothbrush (if you do use an old head, make sure to swap it back before brushing your teeth!)
Once you have an empty sink, sprinkle some baking soda onto each surface. Baking soda is abrasive enough to break up food particles but not strong enough to do any damage to your sink. This also makes it handy for cleaning pans and baking trays, if you're struggling to remove sticky or dried on food. You can leave the sink for a while and give the baking soda time to do its work, then return after twenty minutes or so. Now, apply some washing up liquid to a sponge and wet it with warm water. Use the sponge's brillo pad to start scrubbing your sink; most of the dirt should wipe away easily, thanks to the baking soda, but you might have to put some extra effort into scrubbing away the most stubborn dirt.
Always clean your sink from top to bottom and from the outside to the middle, to avoid dirty water dripping down onto areas of the sink that you've already cleaned. It can help to divide your sink into imaginary sections, for example splitting each side into quarters, and cleaning each area thoroughly before moving onto the next. This can be an effective way of making sure you don't miss a spot. Once you've worked your way down the sink to the drain, you can clean the drain itself.
If you have a white porcelain sink and are struggling to remove stains, a simple trick is line your sink with paper towels and then pour some bleach onto them. Leave it for about half an hour; the paper towels will hold the bleach in place while it cleans the sink. When enough time has passed, remove the towels and rinse the sink thoroughly with clean water. Do not use this method if you have a coloured sink as bleach will likely fade the finish over time; in this case, you'll be better off relying on less abrasive cleaners such as detergent, baking soda or vinegar.
If you're left with stubborn patches of limescale, likely around metal features such as taps and drains, this is caused by mineral content in hard water. Fortunately, all but the thickest limescale deposits can be dissolved by using a mildly acidic solution, such as vinegar or lemon juice. There are more details about limescale and how to remove it available in another dedicated article on our blog.

Composite kitchen sinks are famously tough. They handle daily washing up, hot pans, food prep, and busy family use better than many traditional sink materials. But they are not completely maintenance-free.
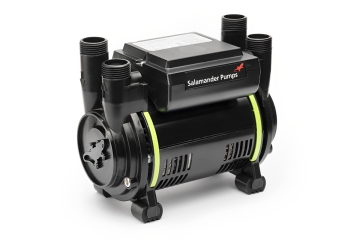
A shower pump is rarely chosen by its physical size. The important part is matching the bar rating, pump type and water system to the bathroom, otherwise performance can suffer through weak flow, unnecessary noise, rapid hot water use or a pump that does not activate correctly.
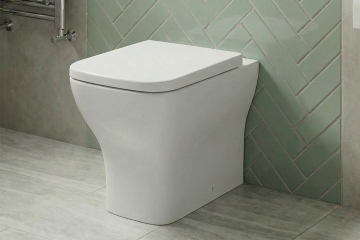
Toilet dimensions vary more than many homeowners expect, and a difference of just 50mm can dictate whether a pan fits comfortably or makes a small bathroom feel cramped. Comparing exact heights, widths and projection measurements before committing to a design prevents awkward layouts and costly installation compromises.

By signing up I agree to receive HeatandPlumb.com emails and to the privacy policy. I can also unsubscribe at any time